Google+

June 30, 2018

Strawberry Cheesecake

I'm getting pummeled with blueberries this week guys, from the blueberry oat scones for my mom's coworkers (recipe coming soon, I promise) to literally everything in the state of Maine, where I'll be spending the next few days. There's blueberry pancakes, blueberry pie, blueberry cake, blueberry ice cream, and more. I feel like Violet from Willy Wonka: I might just be one giant blueberry the next time you hear from me. That's why I think other berries deserve some love, especially with the 4th of July coming up, a great excuse to make red, white, AND blue desserts. I'll get things started with a strawberry cheesecake, a behemoth with the perfect combination of buttery graham cracker crust, decadent vanilla cheesecake, and perfectly glazed fresh strawberries. Throw on a couple of those ubiquitous blueberries and you've got yourself a patriotic crowd pleaser.


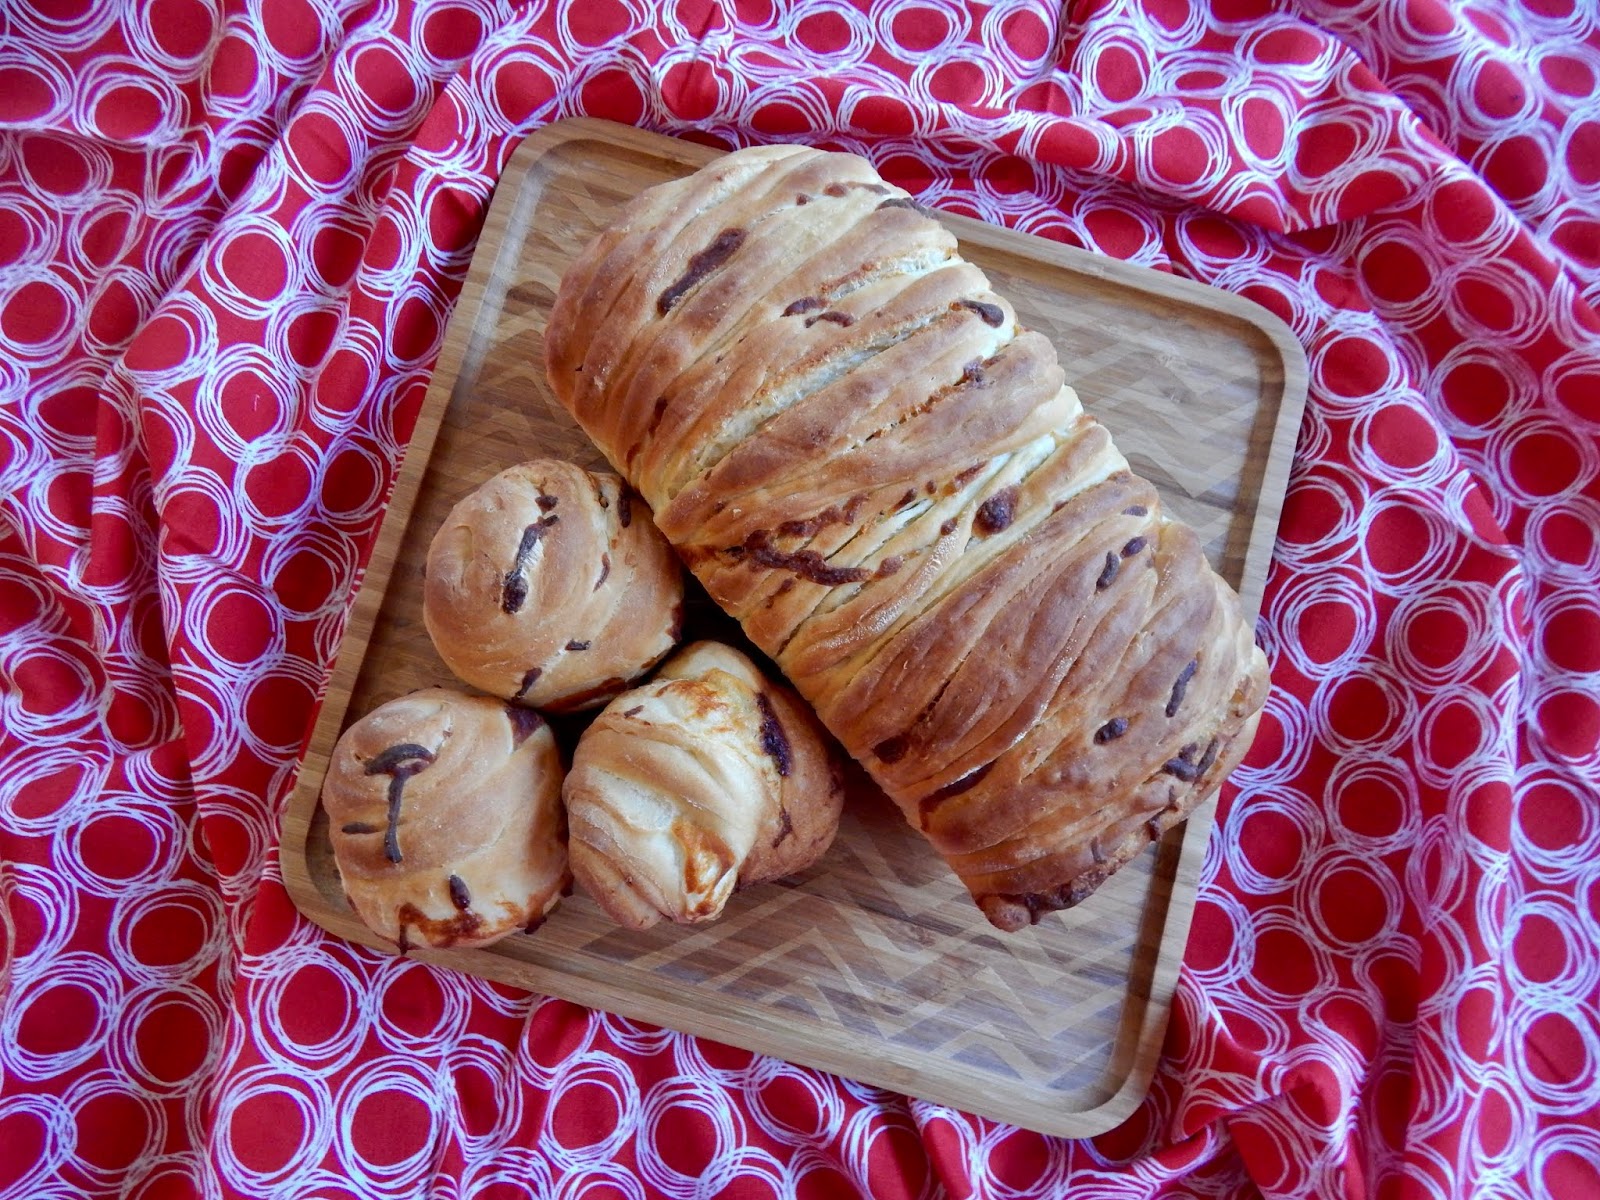
When it comes to graham cracker crusts, I'm usually a sucker for convenience and will go ahead and buy the pre-made pie crusts. However, those are limited to just the regular 9" pie plates or maybe some mini pies if you're lucky. As soon as you venture into tart shells or, in this case, cheesecake crusts, you need to start doing things yourself. Luckily, it's not too hard. If you have a food processor (or even a big ziploc bag and a rolling pin), you can crush up whole graham crackers. It's even easier if you can find a box of graham cracker crumbs and skip that step entirely. From there, it's just a matter of adding sugar to taste and enough butter to hold it all together. That buttery, crumbly mixture gets pressed into the bottom--and partially up the sides of--a 10" springform pan, which is worth the investment if you are a springform pan-less cheesecake lover.


One of the reasons I love this cheesecake recipe so much is because the filling is so adaptable. Here, I'm keeping things simple and just topping it with some strawberries, but you can add any sort of flavoring to the filling, switch up the crust with a different kind of cookie, and top it with anything from different fruits to candy bars. Just whip a scary amount of cream cheese with some sugar, add some sour cream (don't question it; your cheesecake definitely needs more dairy), and stir in the eggs and vanilla.


The cheesecake batter gets poured into the springform pan, which I first wrap with aluminum foil to minimize the mess from any potential leaks. It also protects the cheesecake itself from the water bath: you have to bake the cheesecake in a big pan of hot water. This prevents the sides from cooking too quickly, since they are limited to the temperature of boiling water, which, at 212F, is much cooler than the oven. The water bath ensures that the cheesecake cooks fully and evenly to avoid overly browned edges and a gooey interior. The toothpick test doesn't work on cheesecakes, so you'll have to go by eye: when the cheesecake just jiggles in the center when you move it.


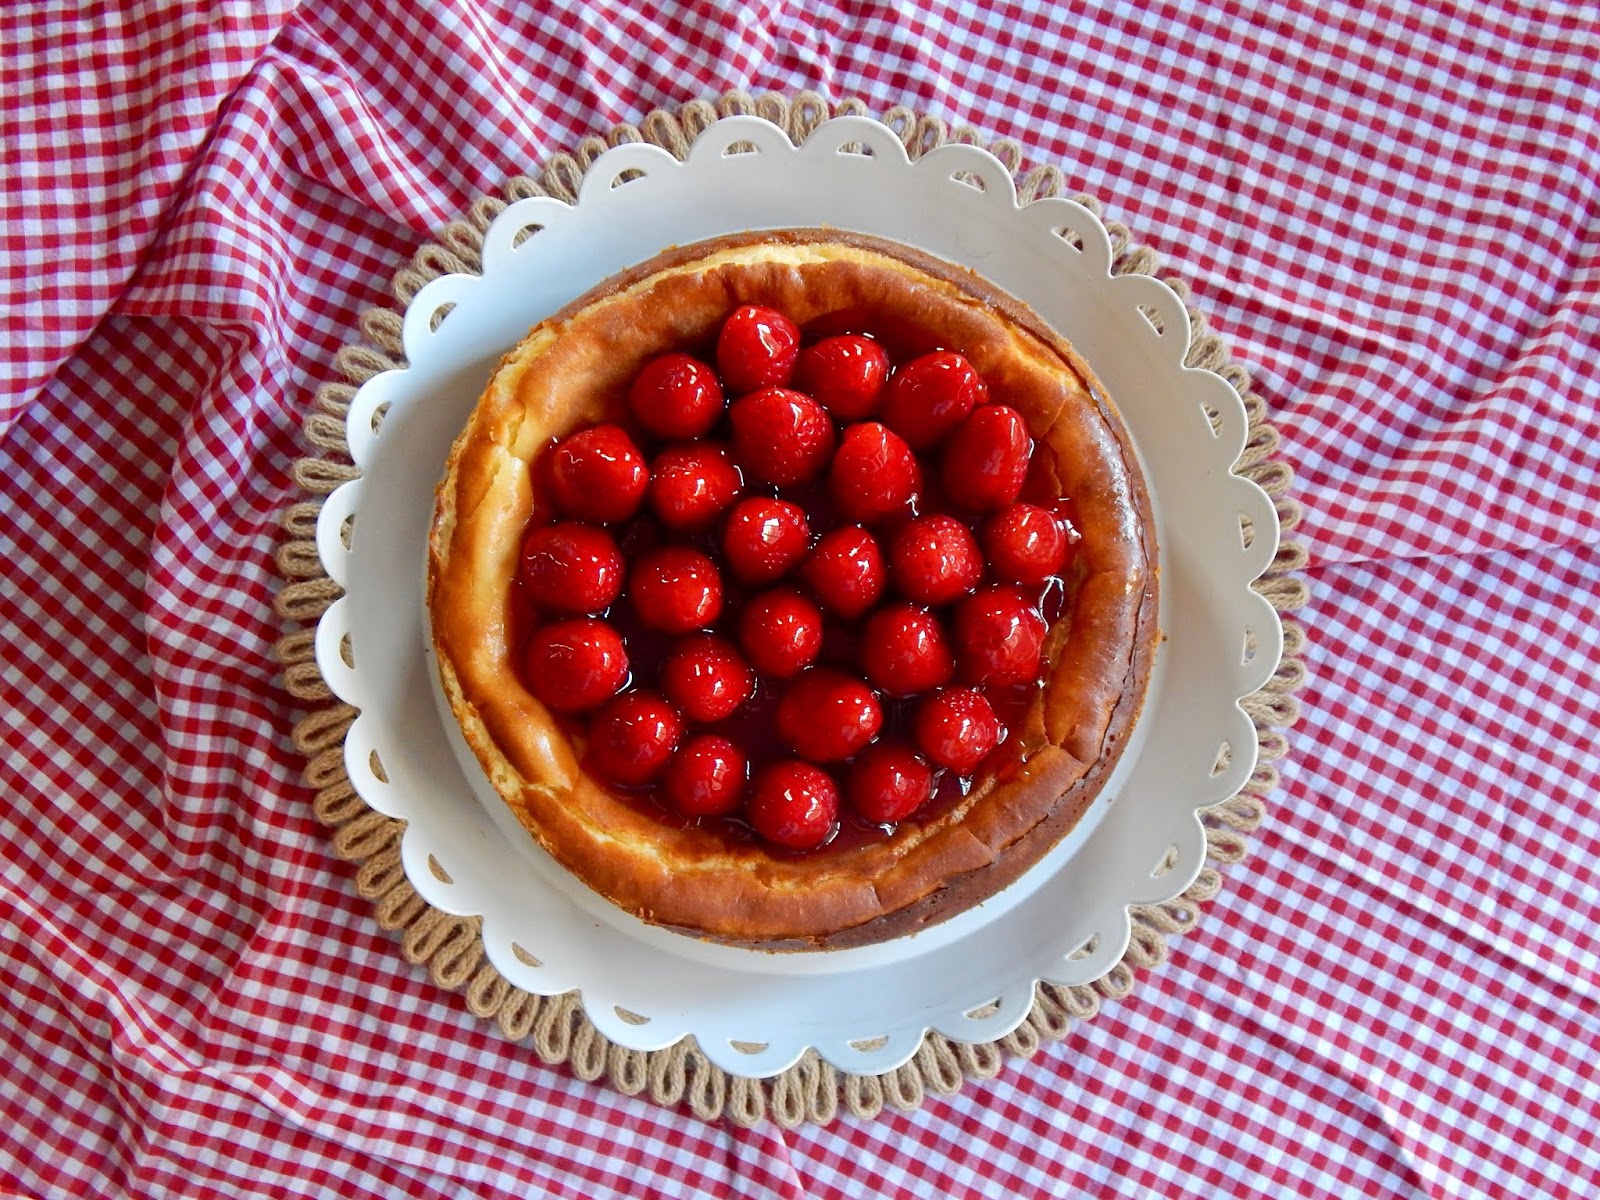
Once the cheesecake is cooked and cooled, it's time to decorate. Clearly, summer means plenty of fresh berries, so I went with the classic strawberry cheesecake here. Normally I'm a fan of slicing up the strawberries to make some pretty design, but here I like the look of whole berries. To make sure they line up nicely with no big gaps, I actually arranged them on a plate the size of the top of the cheesecake (or a circle drawn on parchment to the same size) so I knew which berries to use and where to put them. A simple jammy glaze keeps things sweet and shiny. This cheesecake should stay for a few days if you only have a few people over, but after seeing my sister do some major damage just on her own I don't think you'll have that problem.


1 1/2 Cups Graham Cracker Crumbs
1 1/4 Cups Sugar
1/3 Cup Butter, Melted
32 oz Cream Cheese, Softened
1/2 Cup Sour Cream
1/4 tsp Salt
4 Eggs
2 tsp Vanilla
2 T Cornstarch
1 Cup Strawberry Jelly
1 tsp Lemon Juice
1 Quart Fresh Strawberries, Hulled

Grease a 9-10" springform pan. Wrap the bottom in aluminum foil to make it watertight and transfer to a deep baking dish or roasting pan.

Combine the graham cracker crumbs, 1/4 cup sugar, and melted butter. Press into the bottom and sides of the prepared springform pan. Chill until firm.

Heat oven to 325F.

Meanwhile, beat the cream cheese and remaining 1 cup sugar together in a stand mixer until fluffy. Add the sour cream and salt. Stir in the eggs one at a time, then add the vanilla.

Pour the cheesecake batter into the crust. Pour hot water into the roasting pan until it reaches about halfway up the cake pan. Bake for 50-60 minutes or until just set. Turn off the oven and let sit with the door cracked open for 15 minutes. Set aside on the counter to bring to room temperature. Chill for at least 4 hours.

Combine the cornstarch with 1/4 cup water in a small pot over medium heat. Whisking constantly, add the jelly and bring to a boil. Remove from heat, stir in the lemon juice, and cool until just warm.

Arrange the strawberries on top of the cheesecake. Brush with the glaze.

Serves 8-10

June 22, 2018

Cheesy Garlic Pull Apart Bread

One of my goals as a newly-graduated adult is to make more of my own bread. I'm talking sourdough starter, bread for sandwiches, and brioche for French toast every weekend. I'm getting started a little early with a more playful recipe: pull-apart bread stuffed with plenty of butter, cheese, and roasted garlic goodness. I'll rip off a hunk of it to snack on while working on more recipes or to serve alongside a bowl of pasta for dinner. The recipe for the bread itself is extremely easy and very forgiving, so you'll have no trouble making it, forming it, and baking it.


The bread dough starts with milk, yeast, and sugar. The yeast needs to activate in the warm milk before you can do anything else, and a spoonful of sugar makes sure they're alive and hungry. If your yeast isn't big and foamy after a few minutes, toss it and start again with fresher yeast (or cooler milk, if it's hot to the touch). From there, it's along the lines of a brioche dough: add some butter and eggs, then knead in the flour until smooth and elastic. Since this is still a fairly delicate bread, you can use your regular all-purpose flour; bread flour has a higher gluten content for a stronger protein network but it's not necessary here. You should be able to stretch the dough pretty thin without it breaking; if not, keep kneading. This is one of the endless reasons why I love my stand mixer, since doing this by hand can be a bit much sometimes.


While the dough is rising, I prepare the filling. It starts with roasted garlic, which goes much faster if you split the head of garlic into the cloves, leaving the skins on. It's done when the cloves are golden, soft, sticky, and fragrant. Roasting the garlic mellows the flavors for a sweeter addition to the filling. It gets combined with butter, parmesan, and herbs, which--may I add--is fantastic on pretty much everything.


The trick to a cohesive pull-apart bread that doesn't leak cheese everywhere when you assemble it is to do it taco-style. Although most recipes tell you to cut the dough into squares and stack them to put in the loaf pan, I cut the dough into rounds, smear on the filling, and fold them in half before putting in the pan. Cutting the rounds the same diameter as the width of the loaf pan ensures they fit properly, and folding them in half keeps all the cheesy, buttery goodness tucked in where it belongs. It also has a pretty, rounded, rustic look that I prefer.


I've tried cramming all the dough into one loaf pan, and all it does is compact it so much you can barely pull it apart. It's better to squish most of the pieces in there and leave a few to make a handful of rolls in muffin pans. I'll fold a few rounds of dough and garlic butter together and pop them in the cups of a muffin tin so I have something to snack on without people knowing I started eating the bread. It's genius, really.


1 Cup Milk
1 Packet (2 1/4 tsp) Yeast
3 T Sugar
1/2 Stick Butter, Melted
1/2 Stick Butter, Softened
1 1/2 tsp Salt
2 Eggs
4 1/2 Cups Flour
1 Small Head Garlic
1 T Olive Oil
1/3 Cup Grated Parmesan
1/2 tsp Garlic Powder
1/2 tsp Onion Powder
1/4 tsp Basil
1/4 tsp Oregano
1/4 tsp Thyme
1 Cup Shredded Mozzarella


Heat the milk in a microwave or small pot until just warm. Add the yeast and sugar and let sit for 5 minutes or until foamy.

Transfer the milk mixture to a large mixing bowl. Add the melted butter, salt, and eggs. Gradually work in the flour and knead for 5 minutes or until smooth and elastic. Cover and let rise for 1 hour or until doubled.

Heat oven to 425F.

Meanwhile, split the garlic into cloves, leaving the skins on. Drizzle with the olive oil and season with salt and pepper. Roast for 40 minutes or until caramelized, stirring occasionally.

Remove the skins from the garlic. Mash, then mix with the softened butter, parmesan, garlic powder, onion powder, basil, oregano, and thyme. Season with salt and pepper.

Roll the dough out to 1/2" thick and cut into 4" circles (the width of a loaf pan). Spread some of the filling onto each circle, sprinkle with some of the mozzarella, and fold in half. Place in the greased loaf pan, folded side down. Let rise for 30 minutes.

Lower oven temperature to 350F. Bake the bread for 28-30 minutes or until golden.

Makes 1 Loaf
Recipe Adapted from King Arthur Flour & How Sweet Eats

June 11, 2018

Creole Grilled Pork with Corn & Okra

I'm doing a lot of traveling around the south lately, which doesn't really seem fair given that I know literally dozens of people that are going to Europe, going on safari, and going seemingly everywhere around the world. It's fine though, since I get plenty of great lowcountry and Gulf Coast eats. Plus, it turns out that Father's Day, summer produce, and that southern inspiration make the perfect storm for a delicious dinner. These pork cutlets (or pork chops, if you prefer) come together quickly with a fresh, summery salsa-esque topping for a meal fancy enough to celebrate Dad but quick enough for those weeknights when you inevitably make it again and again.


The pork part of the dish is pretty simple. I whip up a quick spice blend with plenty of Louisiana kick and add a splash of oil to distribute it and let the pork soak up all the goodness. Tonight, I went with a boneless pork cutlet, but this recipe would work just as well with pork chops (bone in or boneless) or even a pork tenderloin. I thought these pork cutlets were tender and tasty, plus they cooked in less than 15 minutes and stayed perfectly juicy. I used a grill plate so I could stay indoors and still get a nice char, but other options include an outdoor grill or a big, heavy skillet.


In all honesty, though, the pork is really just a vessel for this salsa/slaw/vegetable medley what-have-you. I'm still not sure what to call it; I just know it's one of the best ways I've come up with to get your veggies and take advantage of fresh, local, in-season produce. Like all the best veggie dishes, it starts with a bit of meat. Here, I use diced ham to add texture and saltiness and enhance the flavor of the pork underneath. I cook off some onions in the flavorful ham fat as a base for the rest of the veggies.


Corn and okra are up next: you might not be familiar with okra or you might think of it as a fuzzy, slimy thing you never willingly ate (sorry, Dad). However, once you slice it thin and toss it with all these other vegetables and a hint of a dressing, it transforms into a delicate, tender bite that adds a pop of color and that unmistakable southern flair. Just be careful to serve it quickly after cooking because it can go from tender to gummy very quickly. The 'salsa' just needs to be finished with a handful of diced fresh tomatoes (as much as I love canned tomatoes, they're not the best fit here) and a drizzle of honey and apple cider vinegar. To kick it up a notch, you can add cayenne or minced jalapeno as well.


To serve, I like to heap some of the veggies on a plate, top it with the pork, and spoon some more veggies on top so the juices drip down as sort of a mini sauce. It can be easily scaled up or down for any occasion, too. Just make sure you follow food safety guidelines by using different plates and grilling utensils for the meat to avoid cross-contamination, and refrigerate any leftovers quickly, though it's unlikely there will be much. There's a reason why foodborne illnesses spike in the summer, so don't let it happen at your cookout! I still have faith you can whip this dish up for Father's Day without any trouble, and you may even have time to make a frozen lemonade tart or caramel pretzel blondies for dessert.

1.5 lbs Pork Loin Cutlets, Pork Chops, Pork Tenderloin, etc.
4 T Oil
1 tsp Garlic Powder
1 tsp Onion Powder
1 tsp Paprika
1 1/2 tsp Cayenne
1/4 tsp Thyme
1/4 tsp Oregano
4 oz Ham, Diced
1 Yellow Onion, Diced
1 Jalapeno, Minced (Optional)
2 Ears Corn
1/4 lb Okra, Sliced Thinly
1 Tomato, Diced
1 T Honey
1 T Apple Cider Vinegar

Combine the garlic powder, onion powder, paprika, 1 tsp cayenne, thyme, and oregano. Add salt and pepper to taste, approximately 3/4 tsp of each. Add 2T oil to form a paste. Add the pork and rub to coat evenly. Let sit for at least 30 minutes.

Meanwhile, heat the remaining 2T oil in a large skillet. Add the ham and cook until crisp and browned, about 4 minutes. Remove with a slotted spoon and set aside.

Add the onion to the remaining fat from the ham and cook until translucent, about 4 minutes. Add the jalapeno, if using, and cook for 2 minutes. Add the corn kernels and okra and cook for 2-3 minutes or until just tender. Season with salt and pepper. Add the tomato, honey, apple cider vinegar, and remaining 1/2 tsp cayenne (to taste). Cook for 1-2 minutes or until heated through.

Heat a grill, grill pan, or skillet. Add the pork and cook until cooked through, about 10 minutes total for cutlets. Let rest for a few minutes, then serve with the vegetables.

Serves 4
Recipe Adapted from Food Network