Google+

May 30, 2014

Zucchini Tomato Crostada

Every once in a while, I need an appetizer. But not just any appetizer. A showstopper. One with colorful fresh produce and bright flavors. This time, it was my mom who needed such a dish. She was going to listen to a concert with some friends, and nothing would do the fabulous Jimmy Buffett justice but this tomato zucchini crostada.


So what exactly is a crostada? It's basically a tart, but it's baked flat on a cookie tray with the edges folded over (as in the pictures) instead of pressed in a tart pan. It keeps the filling in and is often more crispy. It's probably the one dish that I actually enjoy the edges because who doesn't like extra little nuggets of crust?


The filling for this delicious crostada has some Italian nuances. It starts with a base of ricotta, mozzarella, sun dried tomatoes, and sauteed leeks. The ricotta adds creaminess while the mozzarella adds gooeyness, and the tomatoes and leeks add some chewiness and a soft flavor background for the toppings, which are sliced tomatoes and zucchini.


For the zucchini, just cut it into coins and cut each coin in half to form half moons. For the tomatoes, I use cherry tomatoes of various colors that I cut in half. Theoretically, you could use regular tomatoes and slice them, but they don't look as pretty, and you tend to lose some of the juiciness and flavor from roasting little tomatoes. When you halve the cherry tomatoes and place them on the tart cut side up, they roast while the tart bakes, emphasizing the juiciness and giving the tart an even more special look. Regular sliced tomatoes would probably just shrivel. Trust me on this and go with the cherry tomatoes, even if you only want to use plain red ones.


To assemble the tart, roll out the dough to about 1/8" or thinner. You want as large a circle as possible, but don't worry if the circle isn't perfect. Mine rarely are, and I just say it's rustic. You then spread the cheese mixture around the crust, leaving about an inch border since you need room to fold the crust up. Top it with the zucchini and tomatoes, fold the edges over, and bake it and you're done! The only thing better than how this crostada looks is how it tastes!


1 Recipe Savory Crust Dough, Chilled (I use this recipe)
2 Cloves Garlic, Minced
1 Small Leek, White/Light Green Parts Sliced Thinly
¼ Cup Sliced Sundried Tomatoes
½ Cup Ricotta
½ Cup Shredded Mozzarella
1 Sprig Rosemary, Chopped
1 Small Zucchini, Sliced Thinly
1 ½ Cups Cherry Tomatoes, Halved


Heat oven to 350ºF.

Heat some olive oil in a skillet. Add the garlic and leeks and cook until just tender, about 4 minutes. Season with salt and pepper and set aside to cool.

Stir the ricotta, mozzarella, sundried tomatoes, and ½ cup of the leek mixture together. Add the rosemary and season with salt and pepper.

Roll the pie crust dough out to ⅛" thick. Transfer to a parchment-lined cookie tray. Spread the cheese mixture on the dough, leaving a 1" border. Top with the zucchini and tomatoes.

Fold the edges of the crust over and bake for 30-40 minutes or until golden.

Makes 1 Crostada
Recipe Adapted from Recipe Girl

May 22, 2014

Mango Salsa

Since I'm graduating later this afternoon, I have family flying in from all over the country (well, New York), and they are all very, very hungry. They are staying at my house for hours, after all. Anyone who has ever hosted large amounts of people with varying tastes and large appetites knows how difficult it is to feed them all, but I found a recipe I think will satisfy everyone.


I made some salsa with mangoes, corn, bell peppers, tomatoes, and black beans, among other things. It sounds like a pretty strange combination, but trust me. It works. The mango brings a pop of sweetness, and the corn does, too (to a degree). I mainly use the bell peppers for crunch, and I like tomatoes for a bit of acidity and more texture. Black beans are a great way to make the salsa more filling.


You may not realize it, but most salsas do have some sort of "dressing," or a combination of liquids to add extra flavor and help all the flavors from the vegetables (and fruit, in this case) blend together and make the salsa more cohesive. I start with lime juice and olive oil and then season it with chili powder, cayenne, and other spices. The lime juice adds a nice punch of acidity, and the olive oil is a wonderful way to bring the flavors together. You can season it however you like, but I included my recommendations in the recipe.


Now for the spice. Most people like their salsa to have at least a little bit of heat, but my grandma--who I'm sure will want to try some of this--is very picky about her seasoning. She can detect an extra grain of salt in a whole vat of tomato sauce, and she is extremely sensitive to spicy things. You can probably guess she won't really want much heat in her salsa, but that's the beauty of this recipe (and most of my other salsas as well). I used one habanero--minced finely of course--to give a hint of spiciness without burning off my taste buds. Feel free to use less spicy peppers like jalapenos or more spicy peppers of your choosing or simply increasing or decreasing the amount of cayenne in the dressing.


Salsa is pretty simple, but the main secret is to make it the night before and let it "marinate" for a few hours. It becomes more cohesive instead of just a jumbled mix of random produce, which could be good, but salsa is certainly far better. I'm just keeping a big jar of it in my fridge for all my visitors this weekend, and hopefully it lasts through tonight!


2 Ears Corn
2 Small Mangoes, Diced
1 15 oz Can Black Beans, Drained & Rinsed
1 Small Bell Pepper, Diced
3 Roma Tomatoes, Diced
1 Habanero, Minced
1/2 Red Onion, Minced
2 Limes
2 T Olive Oil
1/4 tsp Cayenne
1/2 tsp Chili Powder
1/2 tsp Garlic Powder
1/2 tsp Onion Powder


Bring a pot of water to a boil. Add 1/2 tsp salt and 1/4 tsp baking soda. Add the corn, cover, and remove from heat. Let sit for 10 minutes, drain, and cut off the kernels once cool.

Whisk the juice from the limes, olive oil, cayenne, chili powder, garlic powder, and onion powder together. Season generously with salt and pepper.

Combine the corn, mangoes, black beans, tomatoes, habanero, and onion. Stir in the dressing and let sit for at least two hours, seasoning with salt and pepper if necessary.


Serves 8-10
Recipe Adapted from Joyful Scribblings

May 16, 2014

Meatballs

It seems like the simplest dishes are the most difficult to prepare. While I have yet to find a flawless mac and cheese recipe, the good news is that I have perfected my meatball recipe. It's taken years to do so, and I've tried everything from my Grandma's recipe to buttermilk, panko, and gelatin. It's pretty hard to make a bad meatball, but it's even harder to make an outstanding one. Luckily, this recipe is simple and flavorful, and it comes with an amazing marinara sauce recipe, too.


Let's start with the meat. You can't have meatballs without meat (although I know some vegetarians who beg to differ). The "classic" Italian trio is beef, pork, and veal, but I've found that veal is a little hard to come by and is often a little too expensive. Beef and pork work just fine, though you can always substitute some veal if you like.


Next is the big bread crumbs vs soaked bread debate. My grandma always took some slices of sandwich bread, removed the crust, and let it sit in hot milk or water. Another recipe I tried had you soak panko crumbs in buttermilk. That was a little weird for me, so I figured I'd go back to basics. Meatballs need some sort of bread for textural purposes, but I don't always have sandwich bread or any other suitable bread in my house. One of my main goals for this recipe was to make it easy and accessible, something I could make on a whim without having to go to the supermarket. I always have plain breadcrumbs, and fortunately they work perfectly in this recipe. You don't even have to soak them in anything.


From there, it's pretty standard. You add your eggs, some milk, some parmesan, and some seasoning. I like to go easy on the herbs because the marinara sauce usually has enough and I don't want it to be overpowering. To cook the meatballs, I first sear them in batches in a skillet to get a nice crust on them. That's usually not enough to cook them through or make them all that tender, so I transfer them to a big pot of marinara sauce to simmer for 30-60 minutes. You can go longer, but I usually can't wait much more than that to dig in.


Since you cook the meatballs for so long in the marinara (and I usually douse my pasta in the sauce, too), you need to make sure you have a good one. If you have a favorite brand of jarred sauce, you can definitely use that. I, however, have an extremely easy recipe that only takes a few minutes to put together. Because I like a smooth sauce, I take a few cans of tomato puree (two 28 oz cans usually make enough) and add some olive oil, lemon juice, sugar, and spices. You don't even have to cook it because it cooks enough with the meatballs. Adding the leftover fat from searing the meatballs adds a touch of savory flavor and brings the whole sauce together, but of course that is completely optional, especially if you decide to make the sauce without the meatballs.


Your grandma may be a little shocked if she catches you making someone else's meatballs, but these are definitely worth a try. This is a simple, classic recipe that makes enough for any occasion. I made a batch a few days ago and I'm still eating leftovers for lunch (happily, of course!).


Update September 2017: I have figured out the secret to make absolutely PERFECT meatballs. These are great to begin with, but the secret to light and incredibly moist meatballs is even more cheese. Yes, Wisconsin has gotten to me over the last 3-ish years. Adding a few dollops of ricotta adds an incomparable fluffiness to the meatballs with an almost creamy texture. I've been making these meatballs for years, so of course the recipe is still good without the ricotta, but if you're looking for that little something to boost your meatball recipe over the edge, head back to the cheese section.

1 lb Ground Beef
1 lb Ground Pork
2 Eggs
1/2 Cup Milk
1 Cup Breadcrumbs
1/2 Cup Parmesan Cheese
1 Cup Ricotta Cheese
1 tsp Salt
1 tsp Garlic Powder
1 tsp Onion Powder
1/2 tsp Oregano
Marinara Sauce (See Recipe Below)


Combine the eggs and milk. Stir in the breadcrumbs, parmesan, salt, garlic powder, onion powder, and oregano. Stir in the ricotta. Add the ground beef and ground pork. Roll the mixture into balls.

Heat some oil in a skillet. Add the meatballs and cook, turning often, until brown on all sides. Pour the marinara sauce over the meatballs and simmer for 30 minutes.


Marinara Sauce:
Pour 2 28 oz cans of tomato puree into a large pot. Add 1 1/2 cups water, 1/4 cup olive oil, 2 T lemon juice, 2 T sugar, 2 tsp oregano, 2 tsp basil, 2 tsp thyme, 1 T garlic powder, and 1 T onion powder. Season with salt and pepper.


Serves 8-12
Adapted from www.food.com

May 9, 2014

Spring Quiche

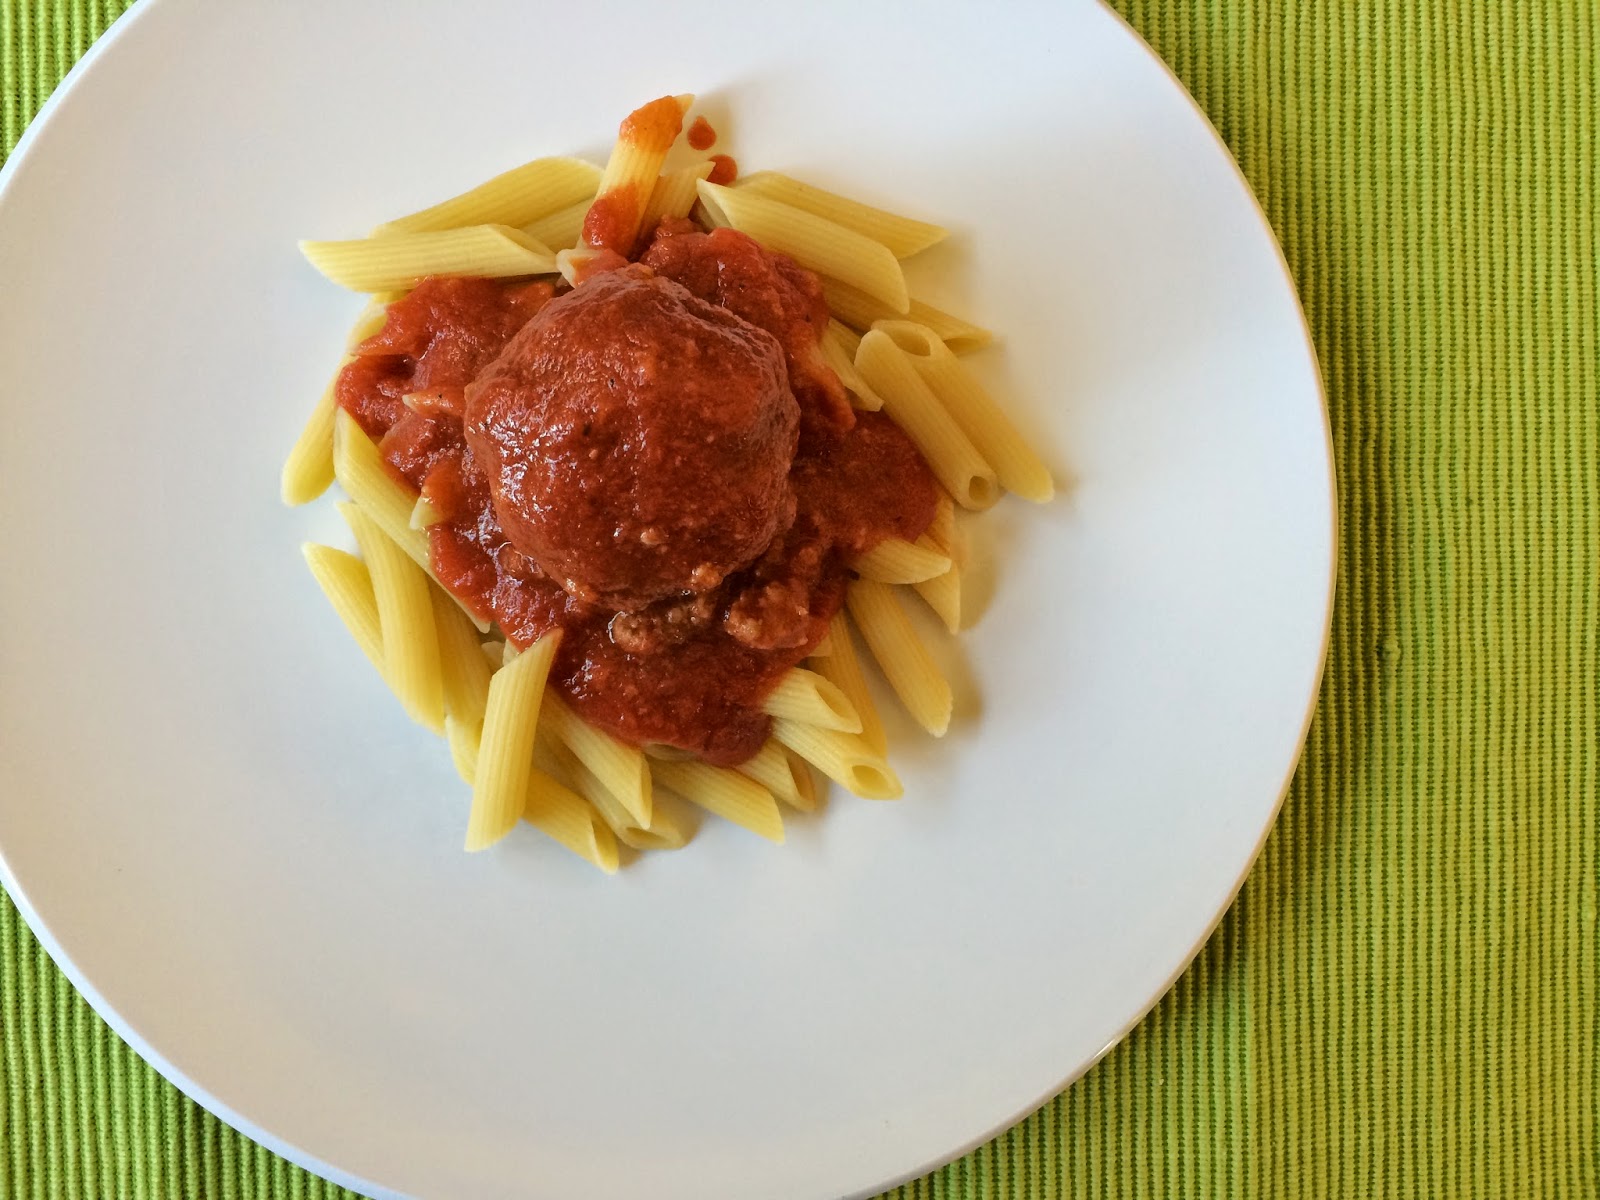
I first made these quiches a few weeks ago for brunch when my grandparents were here. Everyone loved them, particularly my grandma, my mom, and my sister, so it seemed fitting to write about them for Mother's Day. If three generations of women (all with very different tastes, might I add) loved them, they have got to be good.


Let's start with the crust. It's really the only thing in this recipe that's not so good for you. I use my basic savory pie crust, which is literally just flour and butter with a pinch of salt and sugar. Just throw everything in a food processor, adding a sprinkle of water as necessary to form a cohesive dough. I then roll the dough out very thin and cut it into approximately 5" circles to fit 4" tartlet pans. I love my tartlet pans for this because you get a bigger crust to filling ratio (and we all know the crust is the best part) and everyone can have their own little tart(s). An added bonus is a shorter cooking time; it takes much longer to cook a quiche in a 9" pie plate (which you can do with this recipe) than in a few 4" tartlet pans.


After you press the dough into the pans, freeze them for a while before baking. It's one of the few secrets of making the perfect pie crust because baking cold butter makes a flaky pie crust. There's a whole scientific explanation, but I'll save that for another post. I blind bake my crusts before filling them to prevent sogginess and ensure that they cook through. Blind baking simply refers to covering the dough with foil, filling the crater with pie weights or dried peas/beans, and baking until the crust is almost cooked through. It keeps the crust from puffing up and browning too much.


As for the filling, I wanted to celebrate spring and Mother's Day. To me, that means lots of squash and zucchini, and I also throw in some mushrooms and mozzarella. Crispy bits of pancetta or bacon would be delicious as well. I cook all the vegetables before I mix them into the filling so that I can bring out their flavors. I saute them with thyme and shallots for a gentle herby flavor that complements rather than competes with the delicate flavors of the squash. Thyme is one of my favorite herbs, and it's worth splurging on fresh thyme for this recipe. Shallots are less harsh than onions but offer a bit more flavor than garlic. I saute everything in batches so that all the vegetables brown evenly.


The final steps entail making the quiche "batter" and assembling the tarts. To make up for the butteriness and fattiness of the crust, I use milk instead of cream and low-fat mozzarella. You can always use the full-fat version, but I find that I can save calories without sacrificing flavor, so why not? I just whisk the milk and eggs together, season with salt and pepper, and stir in the mozzarella.

To assemble everything, I layer a few slices of squash, zucchini, and mushrooms on the bottom of each crust. It helps prevent the egg mixture from seeping into the crust, and they rise to the top as the quiche cooks anyway. I then pour some of the egg mixture on top of the vegetables, avoiding pouring any between the crust and the pan because it will cook and make it extremely difficult to remove the tarts later. Finally, I bake them until they are just set in the middle. You don't want to overcook or undercook them, so go by texture rather than time. I estimate about 20 minutes, but start with 15 and check every few minutes until they barely jiggle.


That whole description makes these quiches sound extremely difficult, which isn't exactly what you want if you wake up at 6 a.m. to make breakfast in bed for your mom. I'll admit that these do take a while to make, but there are ways to make it easier. Although my crust recipe only takes a few minutes to throw together, you can save time by using a pre-made crust and cutting it into the proper shapes. Or you could skip the individual tartlets altogether and go with a full-size pie pan quiche. It may take longer to cook (about 40-45 minutes), but you won't have to cut and press each crust and shingle on vegetable slices for each individual tartlet. Finally, you can saute the vegetables in advance and use them later on. My family snacked on leftover squash and zucchini for days because I made extra, so I know they keep well. I'm sure the quiches do, too, but we managed to eat an entire batch in one sitting, so I wouldn't know for sure.


1 Recipe Savory Pie Crust Dough, Blind Baked in 10 Tartlet Pans (See Below)
½ lb Yellow Squash, Sliced
½ lb Zucchini, Sliced
½ lb Mushrooms, Sliced
2 Small Shallots, Minced
1 T Fresh Thyme
¾ Cup Milk
4 Eggs
¾ Cup Shredded Mozzarella

Heat oven to 350ºF.

Heat some oil in a skillet over medium heat. Add the squash, zucchini, and mushrooms. Season with salt and pepper and cook for 4 minutes. Add the shallots and thyme and cook for 4 minutes. Set aside to cool.

Whisk the milk and eggs together. Season with salt and pepper and add the mozzarella.

Spread a few slices of squash, zucchini, and mushrooms in the bottom of each tartlet pan. Pour the egg mixture over the vegetables. Bake for 20 minutes or until just set.


For the Pie Crust:
1 ¼ Cups Flour
1 ½ tsp Sugar
½ tsp Salt
1 Stick Butter, Chilled & Cubed

Pulse the flour, sugar, and salt in the bowl of a food processor to combine. Add the butter and pulse until small lumps remain, then drizzle in cold water until it clumps together.

Grease a pie plate, tart pan, or tartlet pans. Roll the dough to fit, then press lightly to adhere. Chill until cold and firm, then prick with a fork. Heat oven to 375°F and blind bake for 20 minutes. Bake for another 5 minutes or until golden.

Makes 10 Individual Quiches

May 4, 2014

Fiesta Shrimp

Cinco de Mayo is the perfect excuse to indulge in a smorgasbord of Mexican food (because smorgasbords are so Mexican). While there is a fair amount of historical significance, most people just care about the food. Let's be honest; I feel that way too. Just give me some tortillas and queso dip and we can discuss all the Mexican history you want. Bonus points if you bring tacos.


But, as delicious as they may be, tacos and quesadillas and cheese dip do get a little old. That's why I invented an entirely new dish, one I coined fiesta shrimp. I'm not really sure why I settled on that name, but it seems to capture the variety of bright, strong flavors as well as the obvious--it's shrimp.


The shrimp are marinated in a spicy chili lime sauce and grilled before I pile them onto some quinoa mixed with lots of fresh vegetables. I prefer onions, bell peppers, tomatoes, and black beans, but you can use whatever is in season. Corn would be delicious, and it's just about that time of year.


You can also adjust the spiciness of the dish, but what I wrote in the recipe gives it just enough heat to let you know it's Cinco de Mayo without ruining your palate for the rest of your feast. This dish is a wonderful break between the heaviness and greasiness of some of the more common dishes at Cinco de Mayo parties, but it packs enough flavor to keep your celebration going.


3 T Oil
1 Lime
1-2 Habaneros, Minced
5 Cloves Garlic, Minced
½ tsp Cayenne Pepper
1 tsp Cumin
2 ½ tsp Chili Powder
1 lb Shrimp, Peeled & Deveined
1 Small Yellow Onion, Diced
1 Small Bell Pepper, Diced
2 Tomatoes, Diced
1 Cup Quinoa
1 15 oz Can Black Beans, Drained & Rinsed


Combine 1 T oil, juice from the lime, habaneros, half the garlic, cayenne, ½ tsp cumin, and 2 tsp chili powder. Season with salt and pepper. Add the shrimp, toss to coat, and let sit for 30 minutes.

Heat 2 cups salted water in a medium pot until boiling. Stir in the quinoa, reduce heat to low, and simmer until all the water is absorbed and the quinoa is translucent, about 10-15 minutes.

Heat the remaining oil in a large skillet. Add the onion and bell pepper and cook until almost tender, about 4 minutes. Stir in the garlic and tomatoes and cook for 2 minutes. Season with salt, pepper, ½ tsp cumin, and ½ tsp chili powder. Stir in the black beans and quinoa and cook for another 2 minutes.

Meanwhile, grill the shrimp until cooked through and opaque. Stir into the quinoa mixture.


Serves 4.

May 1, 2014

Tuscan Chicken

Since I'm a senior, tomorrow is my last day of school. That means (among other things) that I have a lot more free time to do stuff like go to farmers markets and cook with all of the amazing produce. I'm always looking for a fast new chicken recipe to make for weeknight dinners, and this Tuscan chicken is delicious (and only uses one pot!). It's full of fragrant Italian herbs, savory mushrooms, and tart tomatoes, and it's pretty healthy, too. There's a ton of extra sauce, which would be even better as leftovers served over pasta.


I begin by searing the chicken. This is a key step because otherwise you are essentially poaching the chicken in a tomato-y sauce. That sounds pretty good, but trust me on this one; searing is so much better. It starts to caramelize the chicken, and the bits left over in the pan will deepen the flavors of the vegetables you saute afterwards.


The mushrooms get cooked next. You want to cook them until they are just tender and begin to brown; they will cook more when you simmer the sauce at the end. I like to do this in batches so that I make sure they all get nice and brown and they don't just steam. Unless you have an enormous skillet, I recommend cooking about half at a time.


After I cook the mushrooms, I saute the onions, garlic, and sun dried tomatoes in the same pan. I use both sun dried tomatoes and canned diced tomatoes to add variety to the texture. The sun dried tomatoes hydrate in the liquid from the sauce and become slightly chewy but in a good way. The diced tomatoes become something like a chunky tomato sauce. I like both, but you can always change the proportions if you want. I also stir in some cannellini beans because they just seem to work in this recipe.


Once the vegetables are all cooked off, I return the chicken to the pan and simmer everything together. The chicken takes on the flavors of the sauce, and it's so much better than simply spooning some sauce on top of the chicken when you serve it. However, the sauce is delicious just spooned over pasta. If it's a little too liquidy, you can add some pasta water because the starch from the pasta cooks into the water and works as an amazing thickener for sauces. You can never have too much pasta in your life, and don't let anyone tell you otherwise. Even though the chicken is the true star of the dish, pasta just makes everything a little bit better.


1 lb Chicken
½ tsp Oregano
½ tsp Thyme
½ tsp Basil
1 tsp Garlic Powder
1 tsp Onion Powder
1 Small Yellow Onion, Diced
4 Cloves Garlic, Minced
12 oz Baby Portobello Mushrooms, Sliced
⅔ Cup Sundried Tomatoes, Chopped
1 15 oz Can Cannellini Beans, Drained & Rinsed
2 15 oz Cans Diced Tomatoes
1 T Sugar
¼ Cup Grated Parmesan Cheese


Heat some oil in a large pot. Season the chicken with salt and pepper and sear until golden brown on each side. Set aside.

Heat some more oil in the pot and add half the mushrooms. Cook until browned, set aside, and repeat with the remaining mushrooms.

Add some more oil to the pot. Cook the onion until translucent, about 4 minutes. Stir in the garlic and sundried tomatoes and cook until the garlic is golden, about 3 minutes. Stir in the beans, diced tomatoes, oregano, thyme, basil, garlic powder, onion powder, and sugar. Season with salt and pepper.

Return the chicken to the pot, cover, and cook for 15-20 minutes.


Serves 4
Recipe Adapted from The Wanderlust Kitchen